

There are couple of steps in order to install your favorite linux distro. Steps are as follows:
- Choose the Linux Distro based upon the usecase.
- Where is the medium, there you want to install it.
- Download the required version of linux
- Install it
- Seat back & Enjoy the Process
For Example,
Installing Linux using USB stick
This is one of the easiest methods of installing Ubuntu or any distribution on your computer. Follow the steps to install Ubuntu from USB.
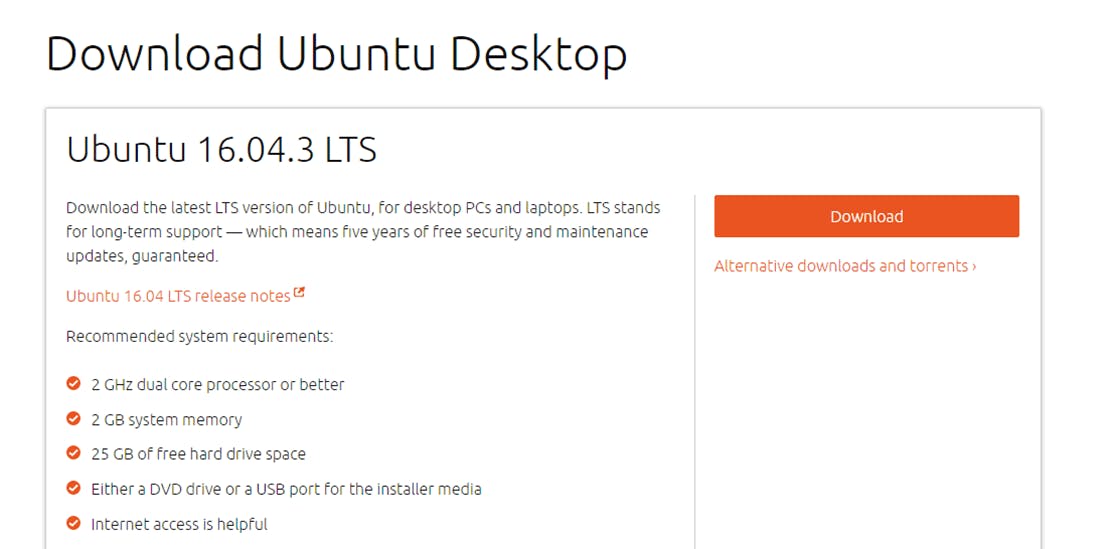
Step 1. Download required files.
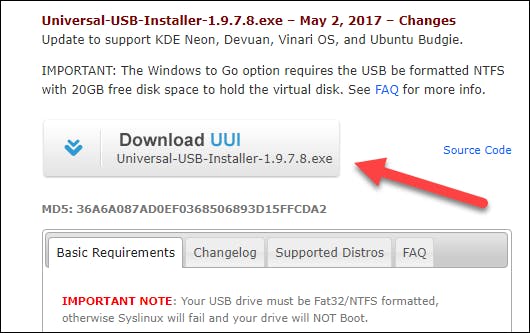
 Step 2. Download Universal USB Installer or Rufos
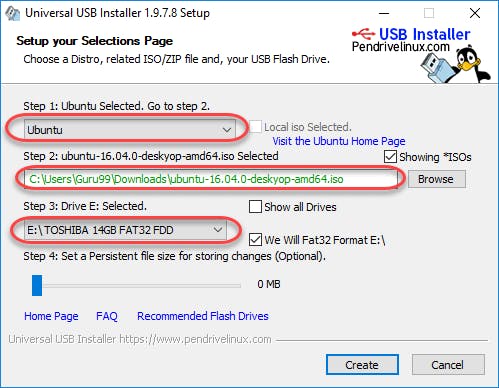
 Step 3. Select Distribution.
Select an Ubuntu Distribution form the dropdown to put on your USB
Select your Ubuntu iso file download in step 1.
Select the drive letter of USB to install Ubuntu and Press create button.
Step 3. Select Distribution.
Select an Ubuntu Distribution form the dropdown to put on your USB
Select your Ubuntu iso file download in step 1.
Select the drive letter of USB to install Ubuntu and Press create button.
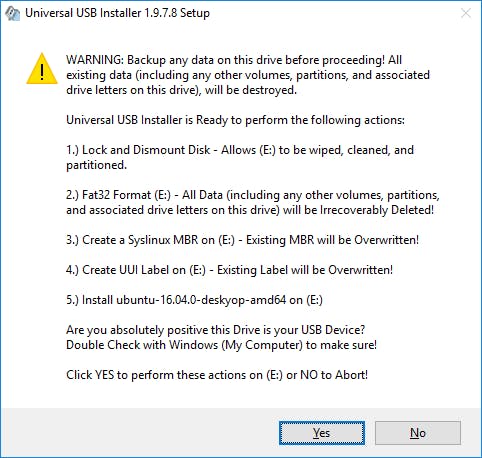
 Step 4. Install Ubuntu.
Click YES to Install Ubuntu in USB.
Step 4. Install Ubuntu.
Click YES to Install Ubuntu in USB.
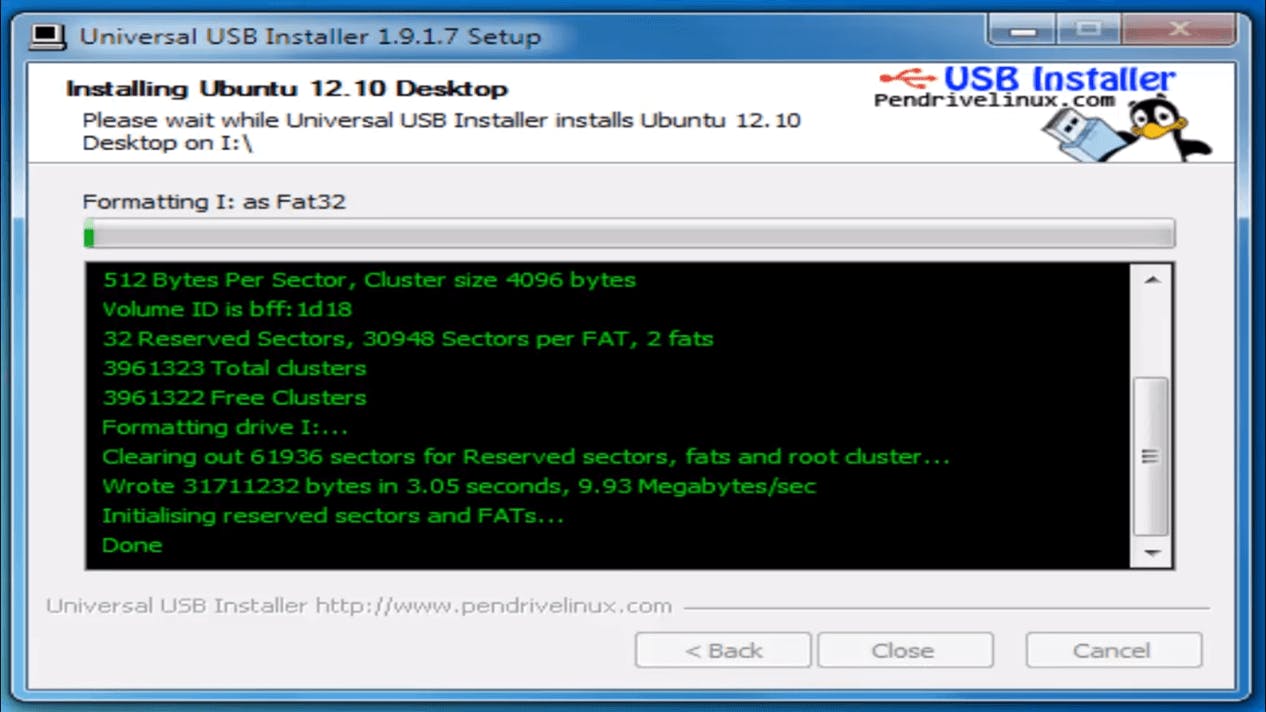
 Step 5. Check your window.
After everything has been installed and configured, a small window will appear Congratulations! You now have Ubuntu on a USB stick, bootable and ready to go.
Step 5. Check your window.
After everything has been installed and configured, a small window will appear Congratulations! You now have Ubuntu on a USB stick, bootable and ready to go.
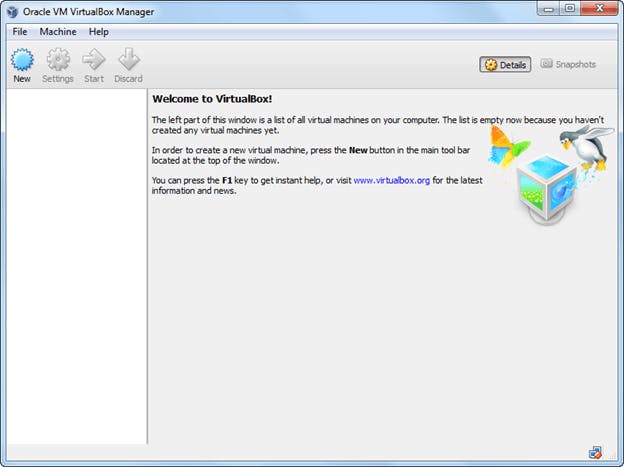
Installing Linux using Virtual Machine
The virtual installation offers you the freedom of running Linux on an existing OS already installed on your computer.
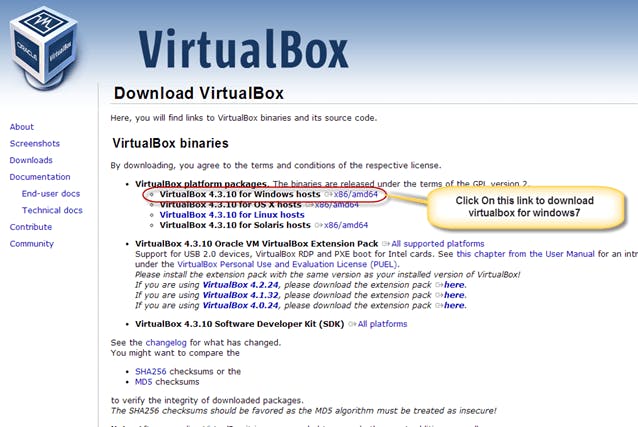
 Part 1. Download and Install Virtual Box
Download Virtual box using this %[virtualbox.org/wiki/Downloads]
Depending on your processor and OS, select the appropriate package. In our case, we have selected Windows with AMD
Part 1. Download and Install Virtual Box
Download Virtual box using this %[virtualbox.org/wiki/Downloads]
Depending on your processor and OS, select the appropriate package. In our case, we have selected Windows with AMD
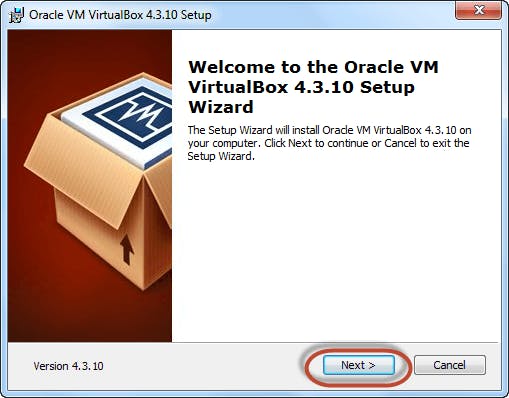
 Once the download is complete, Open setup file and follow the steps below:
Step 1. Click On next
Once the download is complete, Open setup file and follow the steps below:
Step 1. Click On next
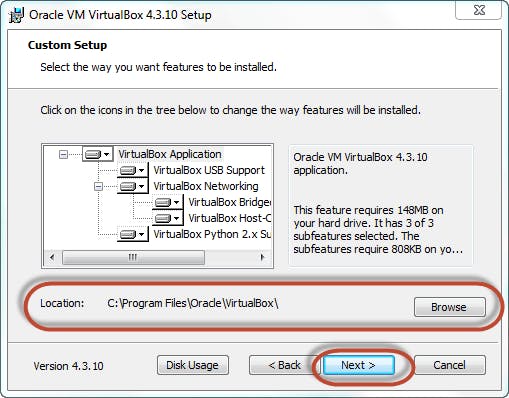
 Step 2. Select you’re the directory to install VirtualBox and click on next
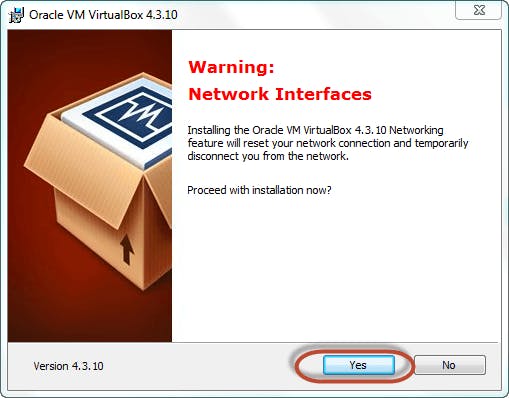
 Step 3. Select Desktop icon and click on next, now click on yes
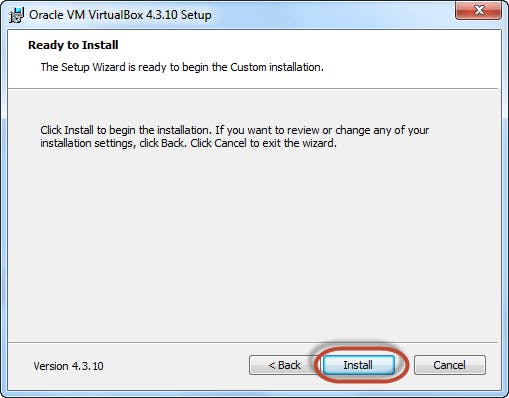
 Step 4. Click On install to install Linux on Windows.
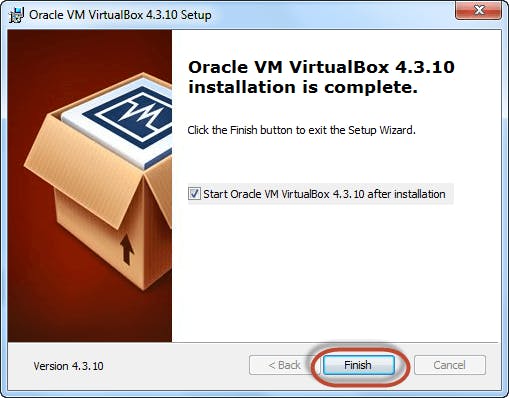
 Step 5. Now installation of the virtual box will start. Once complete, click on Finish Button to start Virtual Box
 The virtual box dashboard looks like this-
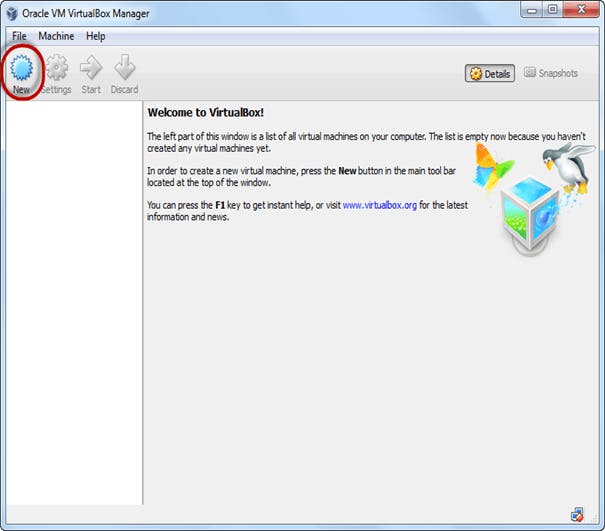
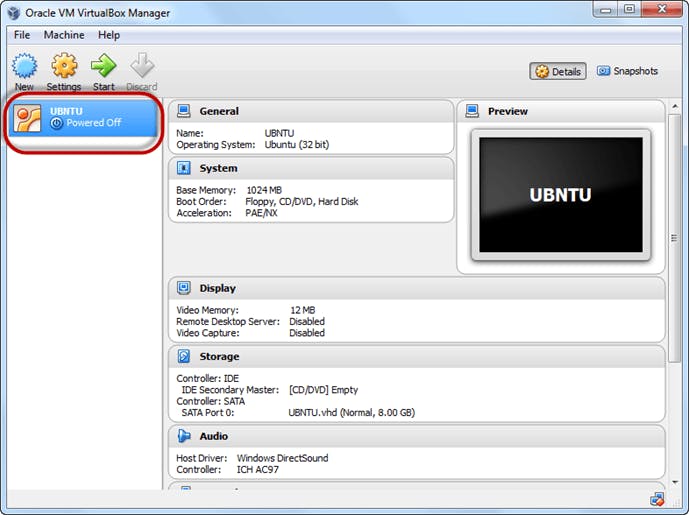
 Step 6. Create a Machine in Virtual Box
Open Virtual box and click on new button
Step 6. Create a Machine in Virtual Box
Open Virtual box and click on new button
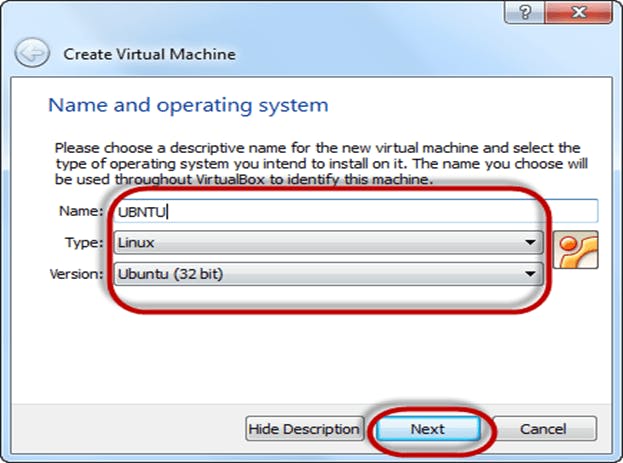
 Step 7. In next window, give the name of your OS which you are installing in virtual box. And select OS like Linux and version as Ubuntu 32 bit. And click on next
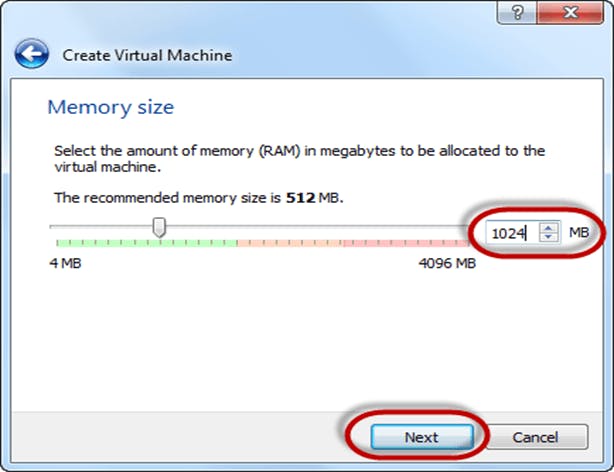
 Step 8. Now Allocate Ram Size To your Virtual OS. I recommended keeping 1024mb (1 GB) ram to run Ubuntu better. And click on next.
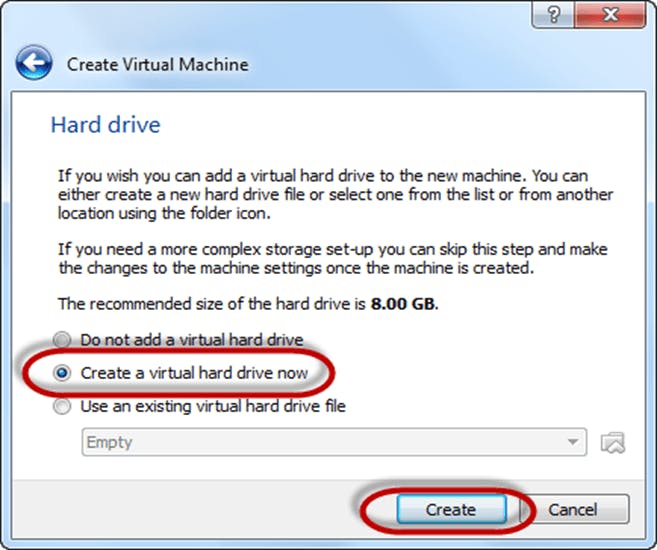
 Step 9. Now To run OS in virtual box we have to create virtual hard disk, click on create a virtual hard drive now and click on create button.
The virtual hard disk is where the OS installation files and data/applications you create/install in this Ubuntu machine will reside
Step 9. Now To run OS in virtual box we have to create virtual hard disk, click on create a virtual hard drive now and click on create button.
The virtual hard disk is where the OS installation files and data/applications you create/install in this Ubuntu machine will reside
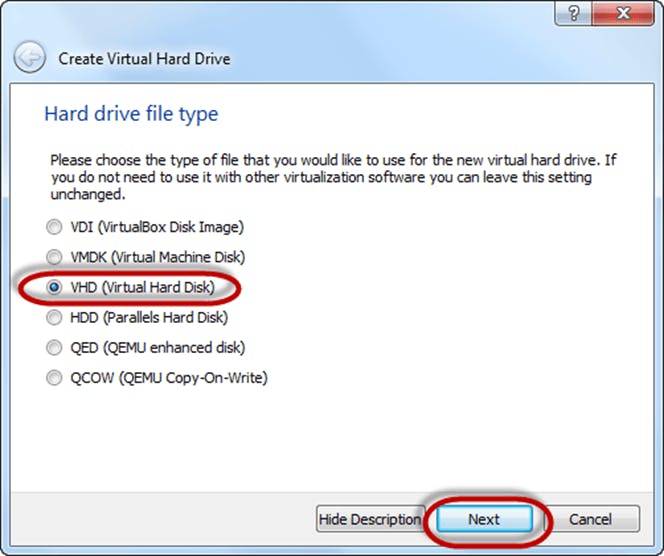
 Step 10. select VHD (virtual hard disk) option and click on next.
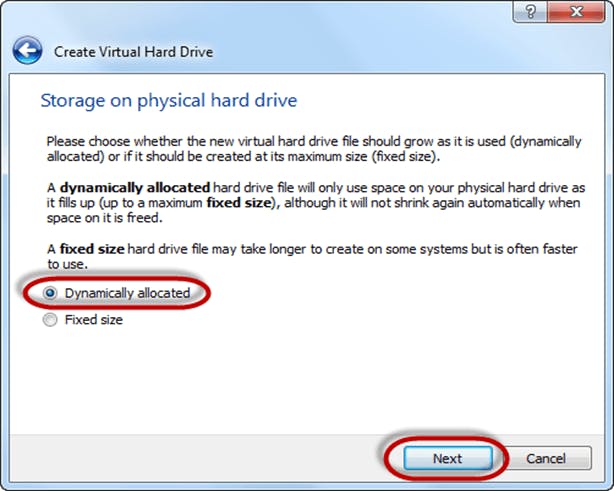
 Step 11. Click on dynamic allocated and click on next. This means that the size of the disk will increase dynamically as per requirement.
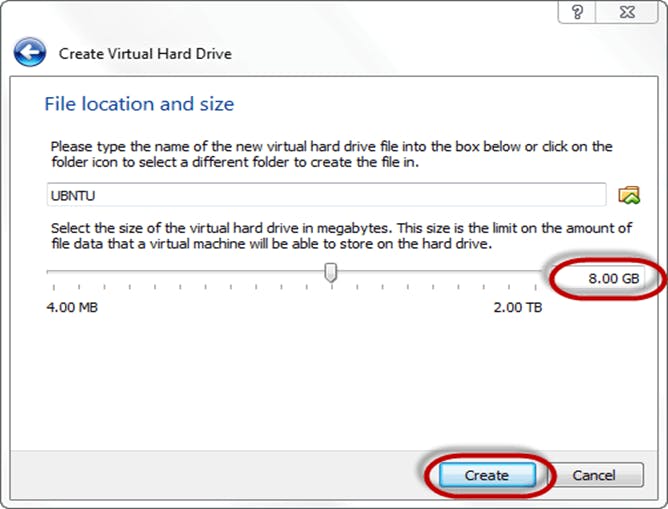
 Step 12. Allocate memory to your virtual hard drive .8GB recommended. Click on create button.
 Step 13. Now you can see the machine name in left panel
Final Part How to Install Ubuntu
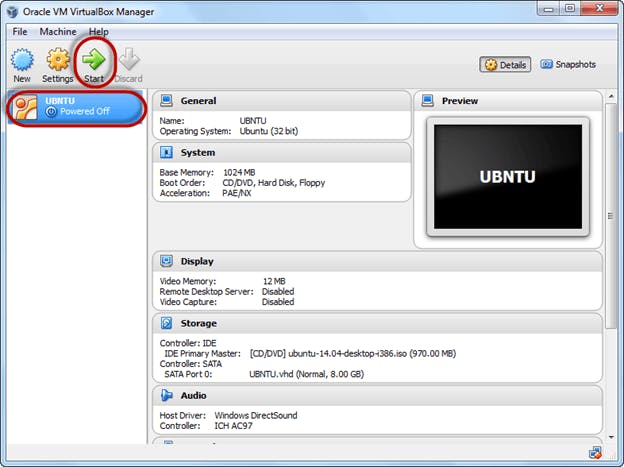
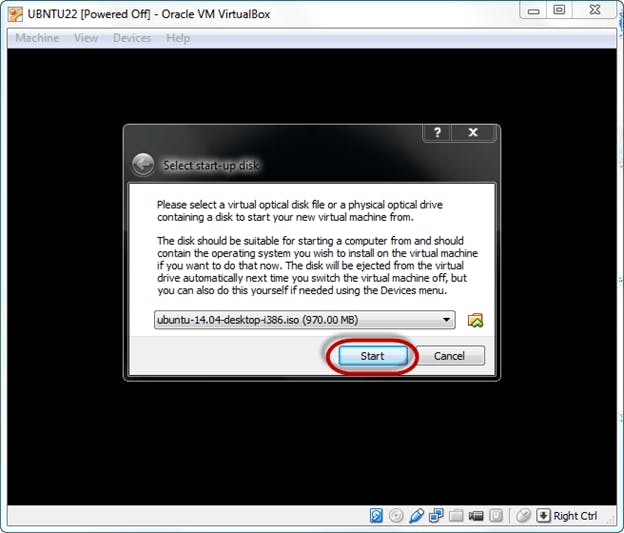
Step 1. Select the Machine and Click on Start
 Step 2. Select the Folder Option
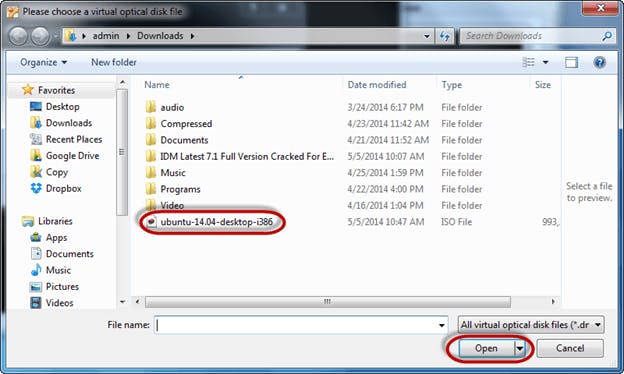
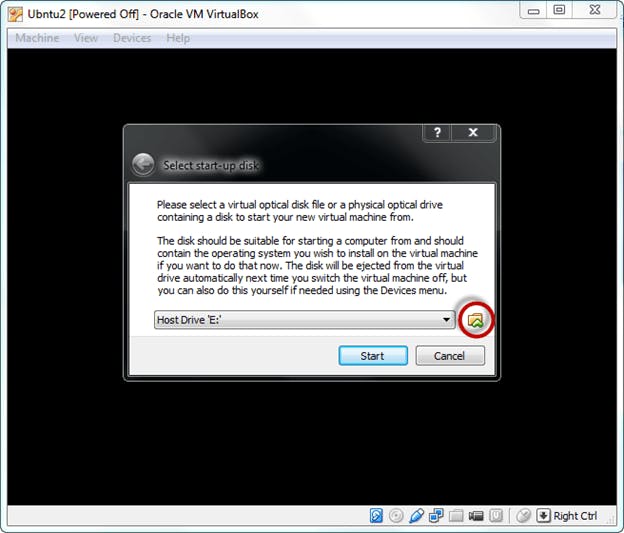 Step 3. Select the Ubuntu iso file
 Step 4. Click Start
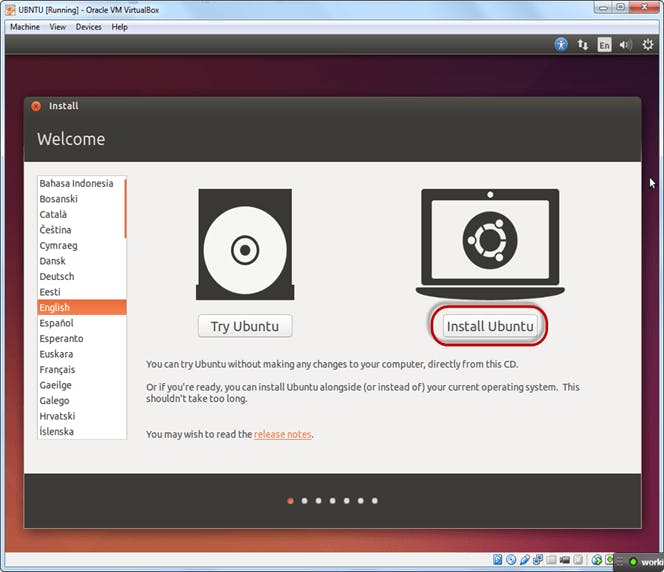
 Step 5. You have an option to Run Ubuntu WITHOUT installing. In this tutorial will install Ubuntu
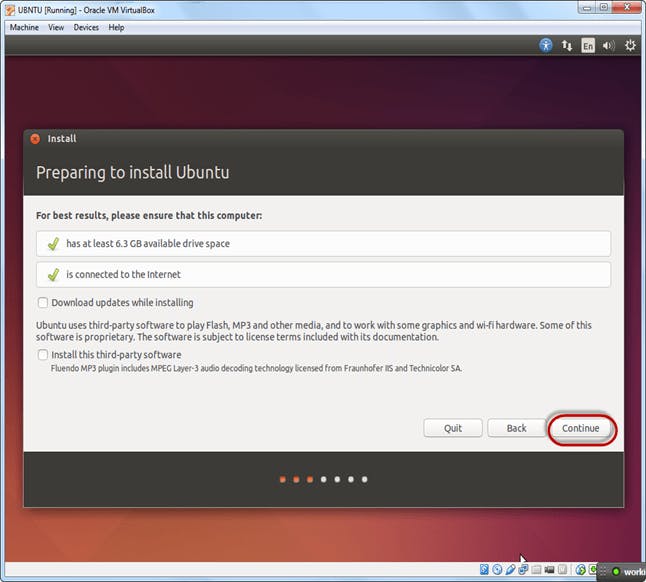
 Step 6. Click Continue
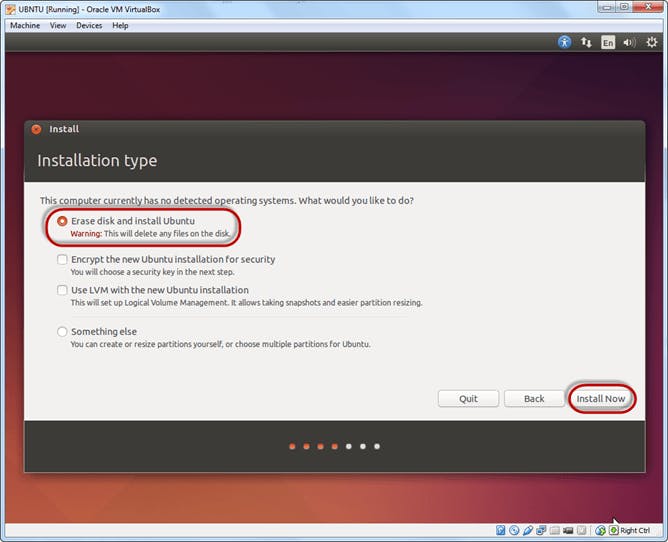
 Step 7. Select option to erase the disk and install Ubuntu and click on install now. This option installs Ubuntu into our virtual hard drive which is we made earlier. It will not harm your PC or Windows installation
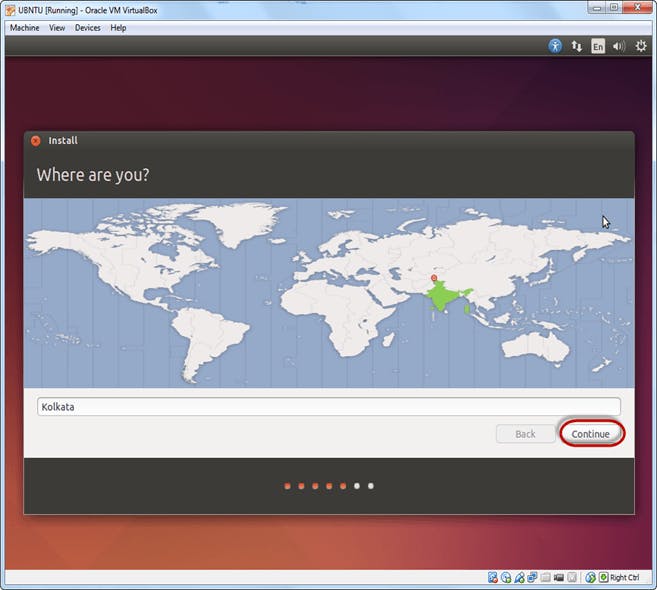
 Step 8. Select your location for setting up time zone, and click on continue
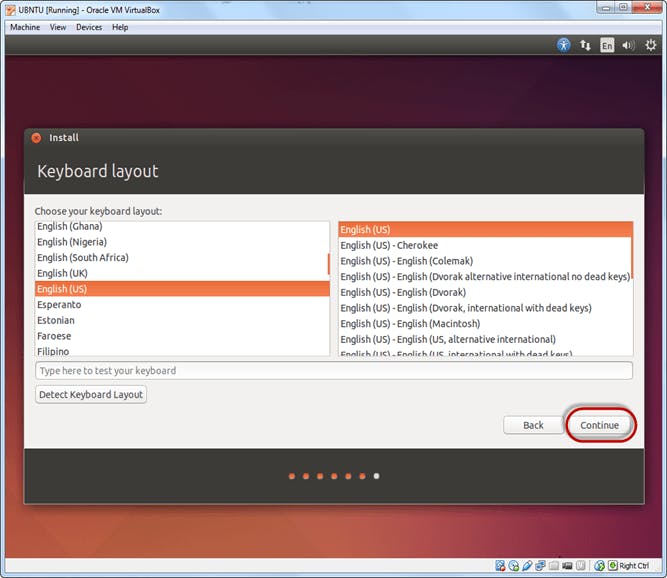
 Step 9. Select your keyboard layout, by default English (US) is selected but if you want to change then, you can select in the list. And click on continue
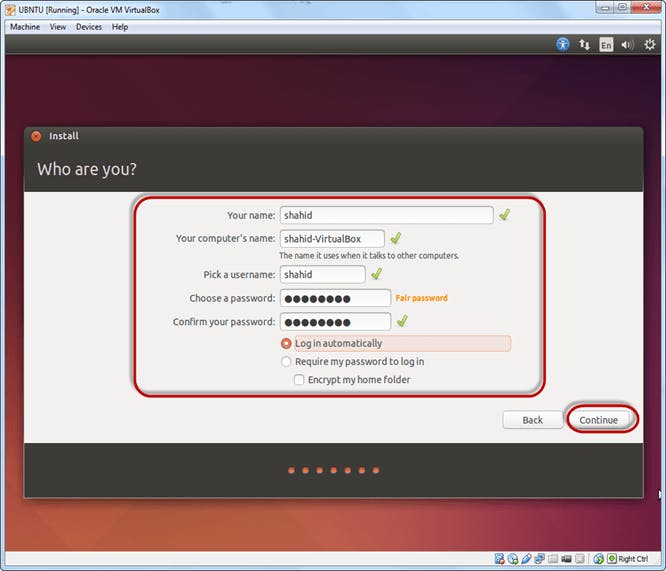
 Step 10. Select your username and password for your Ubuntu admin account. This information has been needed for installing any software package into Ubuntu and also for login to your OS. Fill up your details and tick on login automatically to ignore login attempt and click on continue
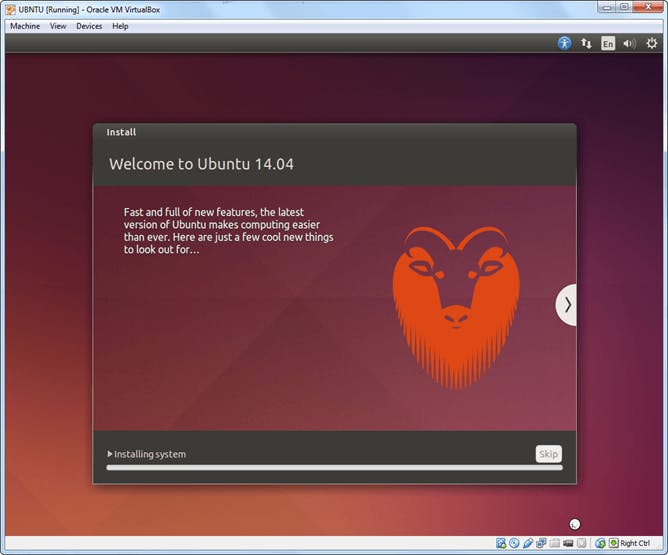
 Step 11. Installation process starts. May take up to 30 minutes. Please wait until installation process completes.
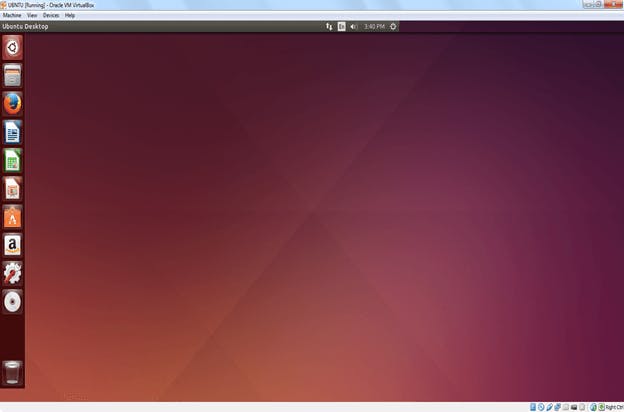
 Step 12. After finishing the installation, you will see Ubuntu Desktop.